
Mechanics
Mortal Shell 2 Tips
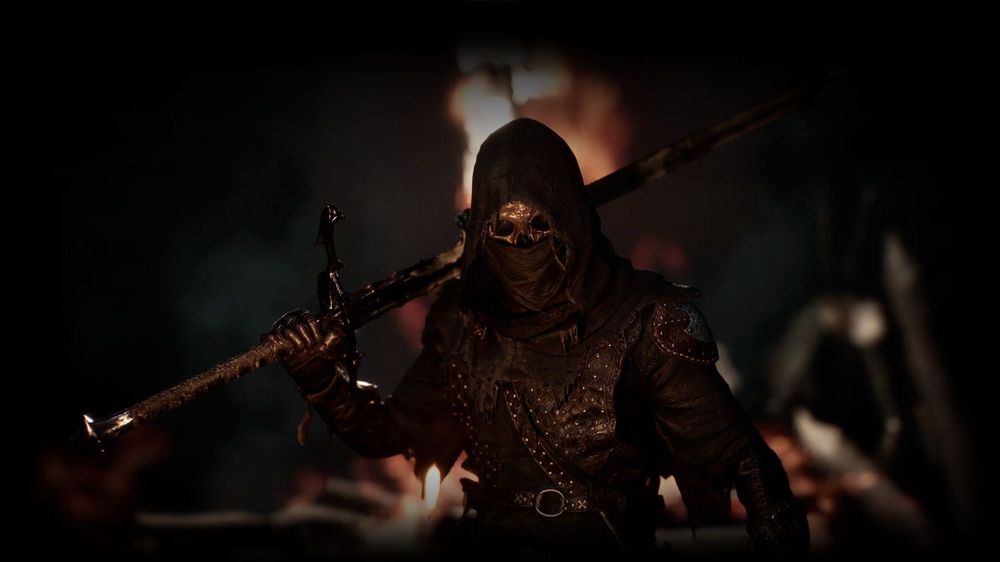
The best Mortal Shell II tips follow from two confirmed systems: resolve, the currency your aggression earns, and dungeons built as non-linear branching mazes. Master both and the early game opens up.
Mechanics were verified against the official Steam page on August 17, 2026; boss-preparation habits and shell details below are attributed to Game8's launch guides, checked August 20, 2026. The Adaptive Difficulty section reflects Playstack's official September 5 update notes, checked September 7, 2026. The parry-achievement section reflects the same September 5 patch notes plus the Fextralife trophy guide and a September 8 Steam thread, checked September 10, 2026.
Why does aggression pay in Mortal Shell 2?
Because defense is bought with the resolve that only attacking generates. Landing aggressive hits charges resolve, and resolve is the primary currency for your defensive skills, your powerful weapon arts, and your sidearm's discharge. Stop swinging and your options quietly empty — the safest play in Mortal Shell II looks violent.
The habit to build early: treat every exchange as a deposit. Even punishing trades that you survive while hitting back fund the skills that make the next exchange safer. The beginner guide walks this loop in detail.
- Resolve is generated by landing hits
- Resolve pays for defensive skills, weapon arts, and sidearm discharge
- One economy: attacking is defending
How do posture breaks decide fights?
Consecutive melee strikes build posture damage on the target; fill it and tough enemies stagger, opening them up for critical execution strikes. This is the payoff rhythm the whole combat system is built around, and it rewards exactly the sustained aggression the resolve economy demands.
Game8's boss guide frames the same system as preparation: inflict Break damage with skills and parrying rather than raw trades, keep the resolve gauge maintained, and treat red attacks as unconditional dodge signals. Which weapon breaks posture fastest is covered in the weapons guide; the fights themselves are in the boss guide.
Why are dungeons worth getting lost in?
Dungeons feature non-linear branching paths containing hidden equipment, upgrade currencies, and lore items. Dead ends are rarely wasted — the path you skip is often where the reward is. In a game whose shells and weapons live off the critical route (see the walkthrough), dungeon side paths are not optional content; they are the collection route.
The upgrade currencies matter more than they look: Tarstones — found scattered across the world — are what the Tarforge uses to upgrade your weapons, so a dungeon that seems to pay out only stones is actually funding your next weapon tier.
- Hidden equipment
- Upgrade currencies
- Lore items
Which boss-prep habits carry the early game?
Game8's walkthrough team sums up boss preparation in five habits: level up your Harbinger before pushing into a new region, upgrade weapons and Tarstones, inflict Break damage with skills and parrying, keep the resolve gauge maintained, and dodge red attacks on sight. None of them require reflexes — all of them are planning, which is what makes them tips worth keeping.
Which shell should you learn first?
Tiel is the gentlest first pickup — his general location is revealed when you first enter Fainweald, and his gravestone sits east of Mushroom Village. Every shell then plays differently through its ability tree: Tiel's specialty is disappearing into shadows, Smert wields time-stopping powers, Proxima's Biosampler drives lightning builds.
Pick the shell whose fantasy matches how you like to fight, then pair it deliberately — the shells guide maps every unlock, and the best build guide records the per-shell weapon, sidearm, and seal pairings.
The parry has roughly 0.3 seconds of prep — so train it like it
Community testing on Steam converges on a rough figure worth planning around: the parry animation needs about 0.3 seconds before its active frames, and some of the game's fastest combo strings re-touch you in less time than that. This is why parrying feels unfair against certain enemies while feeling trivial against others — the attack's tell, not your reflexes, decides whether 0.3 seconds is enough.
The drill that follows from the number: pick one enemy archetype per session (Fainweald soldiers are ideal), and for that session do not dodge — every incoming attack gets exactly one committed attempt at a timed Perfect Guard or an eat-the-hit reset. Twenty minutes of this converts vague 'parry when it feels right' into concrete per-enemy tells you can name. Perfect Guard timing is also fully compatible with aggressive play: a landed guard preserves your posture position and feeds the same resolve economy described above.
Per-archetype frame data is still being measured — that precision lives in this page's pending list rather than pretending it is settled science.
How do you get the Peter's Perfect Parry achievement?
It is a parry exam. Peter's Perfect Parry asks for a Perfect Guard on every hit of The Nameless Captive's head-spin attack while you are wearing the Untarnished Seal — a Bronze trophy sitting at 4.2% ownership, and the subject of a 14-reply Steam thread whose opener admits to feeling like quitting over it. Players there complain the captive 'changes trajectory if you don't dodge at the perfect moment' and snaps back into range mid-string. That frustration is the 0.3-second drill above in its hardest form: same skill, tighter tells. His whole fight is a parry gauntlet by design — the boss guide maps his rhythm phase by phase.
Two setup facts decide the attempt before it starts. He spawns once per run, and the Untarnished Seal is mandatory — guards without it do not count even when the parry itself lands. Put the seal on before the encounter; there is no backfill once the save moves past him. The missable content checklist carries the full setup, and the achievements guide has the exact criteria and rarity context.
One thing the September 5 patch changed in your favor: consecutive parries with the Infinite Seal — the parry-focused seal from the keep's sparring trials — now have a wider window that reaches into the wind-up animation, so a string of incoming hits can be parried instead of only the first one. Status effects also now apply while an enemy recovers from a riposte, so a landed parry pays harder than it used to. The trophy's own seal requirement is unchanged.
Posture math: what actually fills the bar
The stagger bar rewards sustained pressure, not big single hits. Two facts from Game8's tables shape the arithmetic: skills and parries inflict Break damage alongside raw strikes — with no stamina bar limiting how often you can press — and red-glow attacks are pure dodge signals, meaning trading into them always loses more than it teaches. The practical loop against any tanky enemy: three to four quick strikes between their swings, parry anything telegraphed yellow, save skills for windows after you force a whiff, and treat red attacks as the loop's reset button.
Weapon choice changes the exchange rate: heavy weapons spend longer per swing but move larger chunks of posture, while fast weapons deposit smaller amounts at higher frequency — the weapons guide keeps the per-weapon breakdowns, and the boss guide shows where each fight's posture rhythm breaks down phase by phase.
Should you turn on Adaptive Difficulty?
Adaptive Difficulty is the experimental setting the September 5 patch added, and it is off by default: turn it on or off any time under Game > Game Settings > Adaptive Difficulty. Once on, it adjusts enemy damage, health, and break resist in both directions, 'responding to what you defeat and where you die' — and any adjustment relaxes on its own over time, so the game settles back toward its standard balance once how you play changes.
The two directions are not symmetric. If you are winning, the game pushes back without a cap: enemies 'scale well past the toughest the game was originally built to be' and 'keep climbing for as long as you keep winning', per the official notes. If you are struggling, the game gives ground — enemies weaken across the same three values, but with a floor: a cap applies 'so that no single attack can take more than a set fraction of your health bar', meaning you cannot be killed outright from full health while the system eases. One hard boundary: reductions never apply during Night Mode, which can still be pushed harder but will never be made easier.
Nothing on screen tells you the game is adjusting ('we will develop this in the future', say the notes) — which is why early players went measuring instead. One Steam tester recorded enemies taking roughly 95% of a crushing blow after a streak of kills: a 5% ease you would never feel in the moment, but real in the numbers. The bigger mechanics questions were all still unanswered days after the feature shipped: whether the scaling is global or per-region (kill 100 enemies up north — do the south's strong enemies get buffed?), whether bosses and minibosses scale from mob kills at all, and how quickly adjustments decay.
So should you turn it on? The community splits in both directions, which is the honest sign of a dial. Struggling against a wall: it is the only official system that eases the game under you, with the one-shot floor as a safety net. Finding the game too easy after the balance patches: veterans are reporting the opposite use — one thanked the developers for letting them 'get the game's original difficulty back to how it was on August 17 and maybe make it even harder than that'. Critics of the easing side call eased enemies 'damage sponges' and feel punished for playing well; the counter-argument is that it is optional, off by default, and explicitly experimental. Treat it as a difficulty dial you own rather than a mode — and expect it to evolve, which we track in the patch notes.
Bear traps: survive them without losing runs
Invisible bear traps are among the most complained-about design choices since launch — Steam players describe stepping on chained traps they could not see while kiting enemies, eating heavy damage plus a stagger at the worst possible moment. Three habits neutralize most of that damage:
- Never backpedal through grass: traps hide almost perfectly behind foliage — strafe sideways during kites instead of retreating blind
- Let chasers path over traps first: pursuing enemies trigger them too; a Grisha chasing you through a trap cluster does half your work for free
- Trek unknown ground ranged: poking distant targets with a sidearm discharge beats walking face-first into unseen ground — remembering sidearm discharges spend resolve, so budget accordingly
Is there a way to disable bear traps?
In-game: no setting or ability turns them off, and placement persists across visits. PC players unwilling to tolerate them use Nexus Mods community patches that remove world traps entirely; console players get the behavioral workarounds above as the practical answer. Traps do not respawn mid-dungeon once triggered, so heavily-trafficked corridors become safer over a run — first-pass exploration zones concentrate the risk.
My character is wedged near Hall of Murmirs — how do I escape?
Steam threads document a specific geometry hole near South Castigator Keep by Hall of Murmirs that swallows characters during careless traversal. Escape order, cheapest first: sprint-jump repeatedly against the seam toward the wedge lip; if that fails, force a state refresh by changing equipment and retrying; if still stuck, fast travel out — cleansed Beacons override your collision state (the fast travel guide helps if none are nearby yet); the last resort is reloading your last save, which costs everything since your last autosave.
Prevention matters more than escape here: walk, never sprint-jump, across the cliffside seam on Hall of Murmirs' southern approach toward the Castigator Keep wall — that specific traversal is what drops characters into the wedge in the first place.